Wednesday, July 31, 2013
True Grit
No, this doesn't have anything to do with the classic movie, but with your choices come cocktail hour. As the air in my part of the world becoming chilly due to the delightful change in season, so have my musings turned to more thoughts on my choice of poison come dusk. (The better to warm me with, my dear.)
Forget about pitchers of Weng-Weng, Zombie, or even this decade's hipsters' choice like the vodka martini, mojito or margarita. I'm thinking of going back to when men are men and women are women. I'm thinking of a serving of either a Negroni, Rum Cola, Campari, or Whiskey Sour. Except for the Rum Cola, which has been traditionally served in a highball glass, I prefer going back to using rock glasses. Nevertheless, something new comes along that can be as good as the classics. I tried my hand with this Espresso Cocktail. Perky, with a creamy finish to the palate. Left me with a very good feeling for the rest of the evening.
The Recipe
1 cup (250 ml) chilled espresso coffee
1 cup (250 ml) hazelnut-flavored liqueur
1 cup (250 ml) coffee-flavored liqueur
ice cubes
Except, for the ice cubes, combine all ingredients in a pitcher. Spoon ice cubes into glasses and pour the coffee mixture over it. Allow to chill a moment before serving. Makes 8 people happy.
Wednesday, July 24, 2013
Here Comes The Rain Again
We experienced a large amount of rain a couple of days ago, and I thought it was just one of those sporadic showers. But big fat drops started coming down more often since then and thus making it obvious that summer in the Philippines might finally be over. Now, what should I do with the rest of the strawberries left in the refrigerator?
As summer's last hurrah, I thought of making strawberry sauce to maximize the benefits of its freshness. This accompanied our home-made cheesecake pancakes that we ate as an afternoon snack. However, I can bet this is as good anytime of the day as any, including dessert time at the dinner table. The "cheesecake" here comes from using cottage cheese for lesser calories, although you can use softened cream cheese if you want to be extra indulgent.
While you can use ready-made pancake batter for this, I've included a recipe for batter from scratch. It's very easy to make and wouldn't make much difference in prepping time. I'm sure you'll enjoy making your own.
The Recipe
For the pancake batter:
1/2 cup milk
1/4 cup sugar (or sugar substitute if you want it sugar free)
1 egg
2 Tbsp. unsalted butter, melted
1 tsp. vanilla extract
1 cup all-purpose flour
1 tsp. baking powder
1/4 tsp. salt
1/2 cup cottage cheese (I used Nestlé's)
1 tsp. lemon zest, minced
1. Heat a stovetop griddle or large skillet over medium heat.
2. Whisk milk, sugar, egg, butter, and vanilla together in a large bowl.
3. In a separate bowl, combine flour, baking powder, and salt, then add to the egg mixture; stir until just incorporated. If there are a few lumps left, this is fine. Blend in cottage cheese and lemon zest.
4. Spray hot griddle or skillet with cooking spray then pour 1/3 cup batter per pancake into it. Cook 3 minutes, or until bubbly on top then flip and cook another 2 minutes or so. Transfer to plate and keep warm while working with the rest of the batter.
5. Serve with strawberry sauce, graham cracker crumbs and sour cream or yogurt (as a light alternative).
For the strawberry sauce:
4 cups fresh strawberries, hulled and halved
1/4 cup sugar
1/4 cup water
1 tsp. cornstarch
1 tsp. orange zest, minced
Combine all ingredients in a large saucepan. Bring to a boil, reduce heat, and simmer 7 minutes, or until strawberries soften.
For Graham Cracker Crumb Topping:
4 Tbsp. salted butter
1 cup crushed graham crackers
3 Tbsp. brown sugar
1 tsp. ground cinnamon
Melt butter in a small skillet over medium heat. Add remaining ingredients and cook until toasted, stirring often (about 5 minutes). Sprinkle on top of pancakes.
As summer's last hurrah, I thought of making strawberry sauce to maximize the benefits of its freshness. This accompanied our home-made cheesecake pancakes that we ate as an afternoon snack. However, I can bet this is as good anytime of the day as any, including dessert time at the dinner table. The "cheesecake" here comes from using cottage cheese for lesser calories, although you can use softened cream cheese if you want to be extra indulgent.
While you can use ready-made pancake batter for this, I've included a recipe for batter from scratch. It's very easy to make and wouldn't make much difference in prepping time. I'm sure you'll enjoy making your own.
The Recipe
For the pancake batter:
1/2 cup milk
1/4 cup sugar (or sugar substitute if you want it sugar free)
1 egg
2 Tbsp. unsalted butter, melted
1 tsp. vanilla extract
1 cup all-purpose flour
1 tsp. baking powder
1/4 tsp. salt
1/2 cup cottage cheese (I used Nestlé's)
1 tsp. lemon zest, minced
1. Heat a stovetop griddle or large skillet over medium heat.
2. Whisk milk, sugar, egg, butter, and vanilla together in a large bowl.
3. In a separate bowl, combine flour, baking powder, and salt, then add to the egg mixture; stir until just incorporated. If there are a few lumps left, this is fine. Blend in cottage cheese and lemon zest.
4. Spray hot griddle or skillet with cooking spray then pour 1/3 cup batter per pancake into it. Cook 3 minutes, or until bubbly on top then flip and cook another 2 minutes or so. Transfer to plate and keep warm while working with the rest of the batter.
5. Serve with strawberry sauce, graham cracker crumbs and sour cream or yogurt (as a light alternative).
For the strawberry sauce:
4 cups fresh strawberries, hulled and halved
1/4 cup sugar
1/4 cup water
1 tsp. cornstarch
1 tsp. orange zest, minced
Combine all ingredients in a large saucepan. Bring to a boil, reduce heat, and simmer 7 minutes, or until strawberries soften.
For Graham Cracker Crumb Topping:
4 Tbsp. salted butter
1 cup crushed graham crackers
3 Tbsp. brown sugar
1 tsp. ground cinnamon
Melt butter in a small skillet over medium heat. Add remaining ingredients and cook until toasted, stirring often (about 5 minutes). Sprinkle on top of pancakes.
Saturday, July 20, 2013
Going Where the Sun Shines
Living and working east of Manila certainly has its rewards. It afforded me the opportunity to get to see many other sides of the country that I would not have seen or discovered if I lived in Metro Manila.
For example, the year I started blogging (2009), my husband and I traveled to Laguna plying the east Manila road and ended up in San Pablo where we sought out this little café called Sulyap Gallery Café. At that time, it was a challenge to look for it since it was inside a compound known thereabouts as the former Cocoland and it has just opened a couple of months. We had the most sumptuously simple San Pabloesque dinner there with the silent provincial skyline, and condensed air that sparkled with fireflies with a promise of a gentle shower. (Curious? Read more on it here.)
At that time, there was only the café and the museum, where we got to appreciate the collection of antique furniture and knick-knacks of old Philippines. The attendant did say that a bed and breakfast was being conceptualized. Four years later, we were coming from Lucena and on our way home when we decided to drop by for a quick merienda fix from that long stretch of road. Now, you can ask any tricycle driver on the road and they will happily direct you to where you can find the place.
Behold, the café and museum are now collectively known as Sulyap Bed and Breakfast with the addition of two structures that house de luxe and family rooms for visitors to the town known for its seven lakes. Family and barkada rooms are located in this newly constructed structure right beside the café. Outside, it would look like its your own guest house made of mixed materials - nipa roofing, concrete walls and window shutters made of colorful capiz shells, old-world charm included. Interiors are generous with big king-size and day beds, and the bathrooms that would make you stay there the whole day instead of outdoors. (Check out their website for yourself as earmarked here, and find out about their room rates and café menu).
The smaller rooms are located in the authentic 19th century bahay na bato, every nut, bolt, nook and cranny transported intact from Quezon - much like the one that houses the café. The bedrooms have the same old-world Filipino furnishings as the other house, but on a smaller scale, and the beds themselves are delightful to sink into. With creature comforts such as this, it would be indeed preferable to stay indoors and bask in history.
And part of basking in such history is to snack the old-fashioned way: Pancit Bihon that is savory, has enough vegetable, shrimp and pork toppings and accompanied by perfectly toasted "tasty" bread.
We drank the simple elegance of the whole compound and it certainly has a way of lifting one's spirits. It's a wonder to know that such a small charming place exists in this part of the world.
Tuesday, July 9, 2013
Balls!
Continuing with what seems to be my Italian state of mind (read the previous post on Zeppole), I thought of going back to doing another traditional dish - meatballs with your spaghetti. If the celebrity chef Rocco Dispirito be the resource, this is quite a traditional thing from the Campagna region of Italy from which his family emigrated from.
This is my take on meatballs, but used cheaper ingredients like ground pork. Try making your own batch; its quite simple and won't take much of your time. You can even do this ahead and keep in the ref for later use. Use it with store-bought tomato-based pasta sauces (I like the tomato and basil spaghetti sauces). It's one way of personalizing a commercial sauce. As testimony, this is one of the pasta dishes offered by Heaven's Country Kitchen yesterday and the girls loved it.
The Recipe
1 kilo ground pork (a bit of fat will add flavor)
1 cup finely chopped white onions
1 1/2 cups soft bread crumbs
2-3 Italian sausages, crumbled or chopped finely (Chorizo Bilbao also works)
6 Tbsp. chopped fresh basil leaves, or 2 Tbsp. dried basil
1 cup grated parmesan cheese
1/2 tsp each salt and pepper
2 eggs, slightly beaten
Mix all ingredients together and form into balls. Put in a container lined with wax or baking paper and cool in refrigerator for at least one hour before cooking. (Don't worry, the balls wont stick together once they're formed. So you can put them on top of each other in the container). Before cooking, preheat oven to 350 degrees F. Line a shallow baking sheet with baking paper then arrange the meatballs in a single layer and bake for about 20 minutes. You have an option to brown the meatballs afterwards in a pan with a little oil to bring out its smoky flavor. They are now ready to be mixed into the sauce of your choice.
Tip: For the pasta sauce, sauté chopped onions and garlic in a little oil before adding the pasta sauce. Add a bit more salt and pepper according to taste before adding the meatballs and let simmer for a few minutes. Pour the sauce on your cooked spaghetti noodles and serve with grated parmesan cheese. Absolute enjoyment!
Wednesday, July 3, 2013
Ciao to Doughnuts
Here is my Italian take on doughnuts. Small morsels referred to as Zeppole, they're lighter than regular doughnuts (it has more ricotta than flour, and way less sugar), and very easy to prepare. I made a batch this afternoon to greet my daughter after school, served with hot chocolate. Absolutely perfect with coffee too.
The Recipe
100 gms. flour
2 tsp. baking powder
pinch salt
30 gms. sugar
250 gms. ricotta cheese
2 eggs
suflower oil for deep frying
icing or powdered sugar
1. Sift flour with baking powder, salt and sugar.
2. Beat ricotta cheese with eggs until blended.
3. Fold into dry ingredients.
4. Mold into balls with two tablespoons (to avoid getting your hands messy) and deep fry.
5. Drain on paper towels and sprinkle with icing sugar. Enjoy!
The Recipe
100 gms. flour
2 tsp. baking powder
pinch salt
30 gms. sugar
250 gms. ricotta cheese
2 eggs
suflower oil for deep frying
icing or powdered sugar
1. Sift flour with baking powder, salt and sugar.
2. Beat ricotta cheese with eggs until blended.
3. Fold into dry ingredients.
4. Mold into balls with two tablespoons (to avoid getting your hands messy) and deep fry.
5. Drain on paper towels and sprinkle with icing sugar. Enjoy!
Saturday, June 29, 2013
Turning Japanese
For people looking for a low key, yet authentic, Japanese food in a venue with equally quiet interiors, head for Marufuku Japanese Restaurant in the Ortigas area near an equally low key university. The food here is that good that I am a bit reluctant to tell its exact whereabouts for fear of sharing this with other people. But if you are one who fits the above description, then you will appreciate why this place is a well-kept secret.
The restaurant is located on the ground floor of one of the many condominium buildings in the area and the sign is big enough that you'll notice - if you happen to drive by on their street. You can't see much from outside since all you see is the big wooden sliding door as its entrance. Once inside, you are greeted calmly by the waitstaff (none of those yelling " 'Shai Mase!!' ") and then immediately whisked to your preferred seat, but still have time to take in the simple lines, big tall windows and high ceiling. You will also notice that a good number of Japanese expats are in their favorite corners, so this is a good sign of things to come.
If I were you, I'd sit at the bar where you get to see the action in the open kitchen. Nothing hidden from sight as they served us our choice of Robata, the centerpiece of their menu, or skewered meats cooked over charcoal fire. My husband and I had the pork belly, beef tongue, and chicken liver, which were all good, all natural; just enough seasonings to enhance the savory meats.
Oh, but being Filipino, I will have to have the tempura and got the Tempura Moriawase. All I can say is Marufuku is the only place that cooks tempura in a way why I like tempura so much. Many restaurants and even hotels offer this on their menu, but here, the prawns are that big and that fresh, the fish chunky, the okra and eggplant was just picked at the right time, and the batter wrapped well around the morsels with just the right crunch. Rhapsodizing am I? Yes, indeed. Now, this particular secret is out.
The restaurant is located on the ground floor of one of the many condominium buildings in the area and the sign is big enough that you'll notice - if you happen to drive by on their street. You can't see much from outside since all you see is the big wooden sliding door as its entrance. Once inside, you are greeted calmly by the waitstaff (none of those yelling " 'Shai Mase!!' ") and then immediately whisked to your preferred seat, but still have time to take in the simple lines, big tall windows and high ceiling. You will also notice that a good number of Japanese expats are in their favorite corners, so this is a good sign of things to come.
If I were you, I'd sit at the bar where you get to see the action in the open kitchen. Nothing hidden from sight as they served us our choice of Robata, the centerpiece of their menu, or skewered meats cooked over charcoal fire. My husband and I had the pork belly, beef tongue, and chicken liver, which were all good, all natural; just enough seasonings to enhance the savory meats.
Oh, but being Filipino, I will have to have the tempura and got the Tempura Moriawase. All I can say is Marufuku is the only place that cooks tempura in a way why I like tempura so much. Many restaurants and even hotels offer this on their menu, but here, the prawns are that big and that fresh, the fish chunky, the okra and eggplant was just picked at the right time, and the batter wrapped well around the morsels with just the right crunch. Rhapsodizing am I? Yes, indeed. Now, this particular secret is out.
Wednesday, June 26, 2013
Pasta Fresca
I remembered the time that my family and I lived in Mandaluyong, and there was this neighborhood bar/café along Boni Avenue called Henry's. The name referred to the owner/chef Henry Canoy who operates it with his wife Virgie. If I recall well, Chef Henry set up that small place shortly after leaving Hyatt Hotel in Manila to start out on his own. Anyway, his bar/café is no longer existing, but his personal attention to his customers lingers. One instance was when I had this craving for Pasta Carbonara for my dinner, and despite his insistence that I try out some other dish he has prepared for that day, I gently stood my ground and told him I have been looking forward to having his carbonara sauce all day.
And so he obliged. Normally, it would only take him a few minutes to serve me this pasta dish, but I noticed that it has already been around 20 minutes and I still don't have my dinner. I snuck a peak into his small kitchen and caught him making fettuccini from scratch, and was just finishing his final roll from the pasta maker he had. A few more minutes later, a forkful of the freshest and creamiest of ingredients assailed my taste buds.
Fresh pasta gives a different texture than dried ones. Some may think that fresh pasta is superior to dried but really, I think it's all a matter of what kind of dish you want to prepare. Plus, in restaurants that serve this, fresh pasta tend to be more expensive because of the amount of labor put in by the cook or kitchen staff.
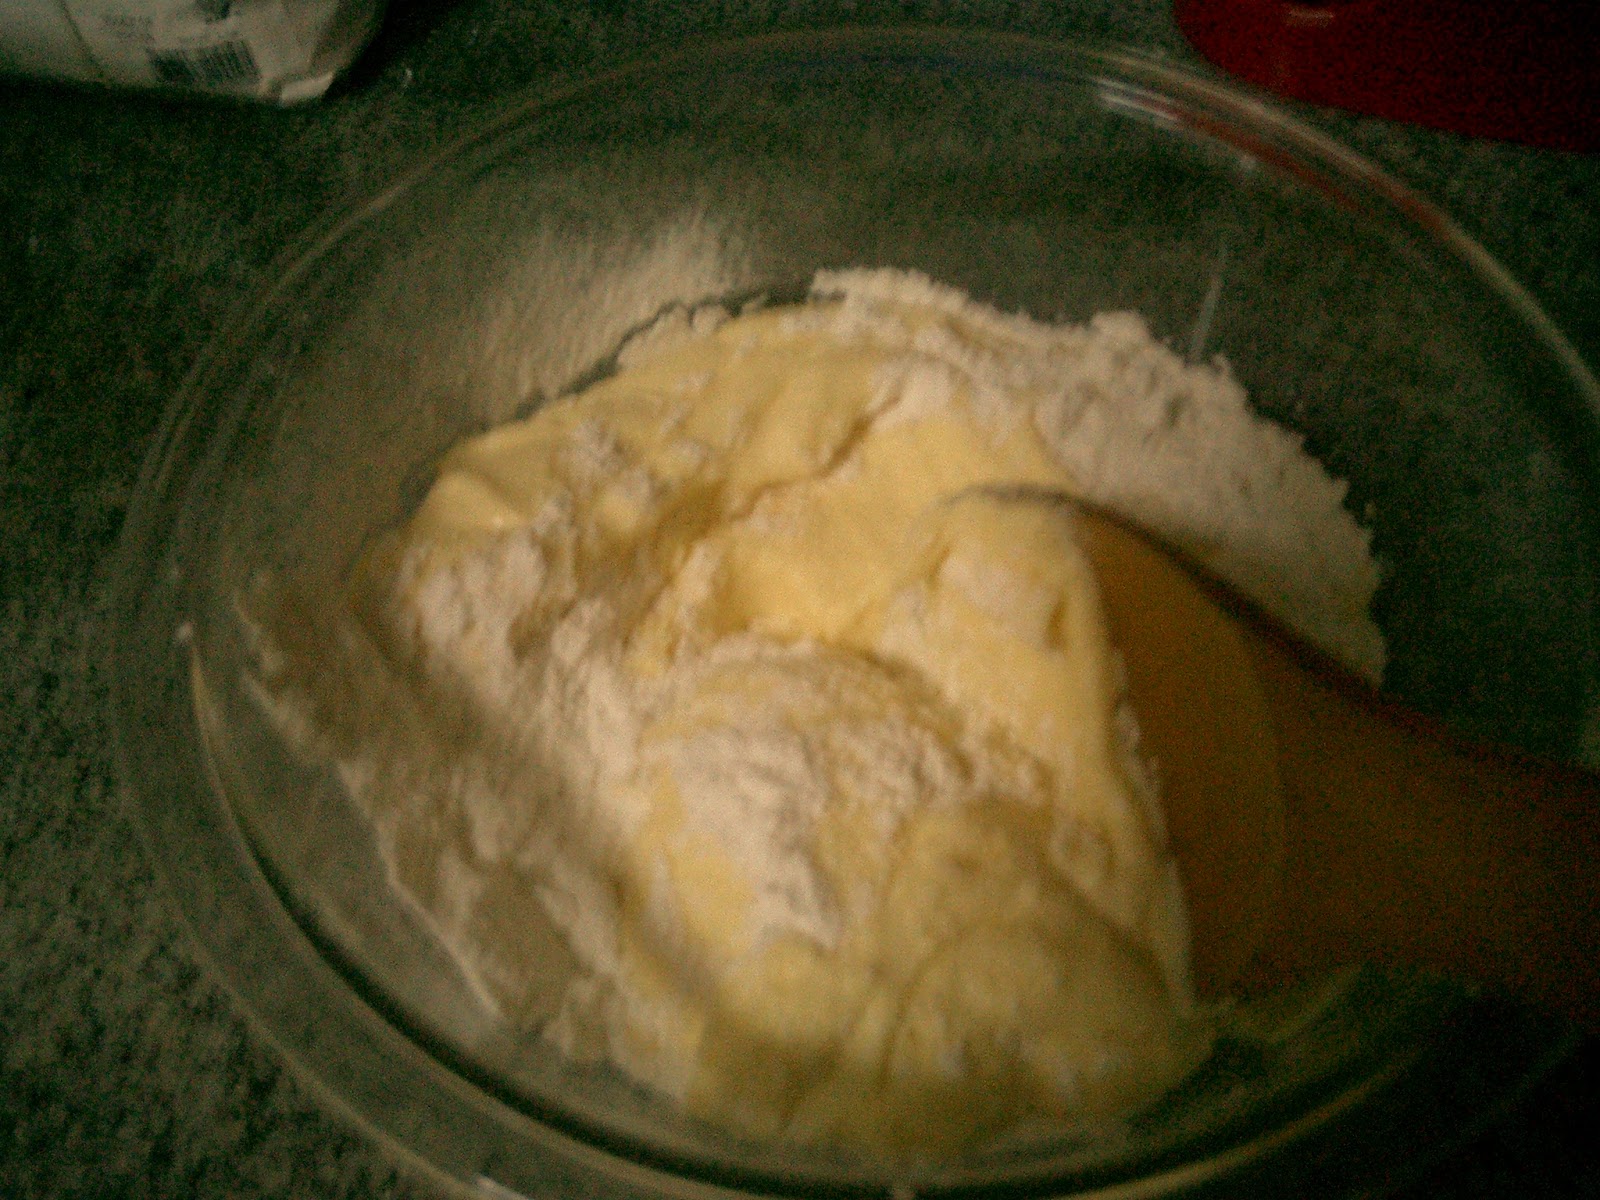
So having had a few hours free time in the afternoon, I thought of trying out my hand in making my own ravioli pasta. I gathered all my references on pasta making and decided to mix and match recipes. While there are some who recommend the use of '00' flour or pasta flour (can be bought at Rustan's supermarkets), I found that all-purpose flour is also a good ingredient to work with. I preferred mixing the flour with the eggs in a big glass bowl since I found it easier to work it into a dough with a silicon knife and without getting my hands messy early on in the process. However, using your own hands from the start is also good.
The filling recipe I used was one using butternut squash that I found in a magazine clipping I collected several years ago. I never had ravioli with squash before so this was a good occasion to try it out. It turned out sweet, which is inherent in the squash, and savory from the nutmeg and pepper, with the saltiness coming from the grated parmesan cheese incorporated in the blend.
At the end of it all, I was quite happy with the result. There's something in knowing that you made everything you ate in that one dish.
The Recipe
For the pasta:
200 grams '00' flour (alternatively, all-purpose flour), plus additional for dusting
2 medium sized eggs
water, when needed
1. Pour flour into a flat surface or into a bowl and a make a well in the center of the mound. Crack eggs into the well.
2. Using a knife, gradually mix the egg with the flour. Keep mixing until you have a thick paste. At this point, use one hand to incorporate the rest of the flour. The dough should form a soft but firm and flexible ball. If the dough sticks to your hand, add a little flour. If the dough is too dry and/or has cracks in it, add water only a little until you get just the right consistency.
3. Knead the past for 5-10 minutes, or until dough is elastic (dough springs back when pressed by fingertip). Leave the dough to rest on a floured surface covered by a bowl. Alternatively, you can lightly dust the dough with flour all over and wrap with cling wrap. Rest should be for 20 minutes.
4. When ready, halve the dough ball into 2, continue to wrap the portion not yet to be used. The other half may now be placed onto a clean, floured work surface and rolled out with a floured rolling pin into a rectangle shape until the dough is 1 mm thick. Your dough should measure around 4 inches crosswise.
5. Spoon squash filling (1 teaspoon) onto the bottom portion of the flat dough with a margin of around 1 inch on the left and bottom. Repeat with the remaining space. Lift the upper portion of the dough and cover the filling, making sure that the upper rim reaches the lower rim. Press dough in between the filling to secure.
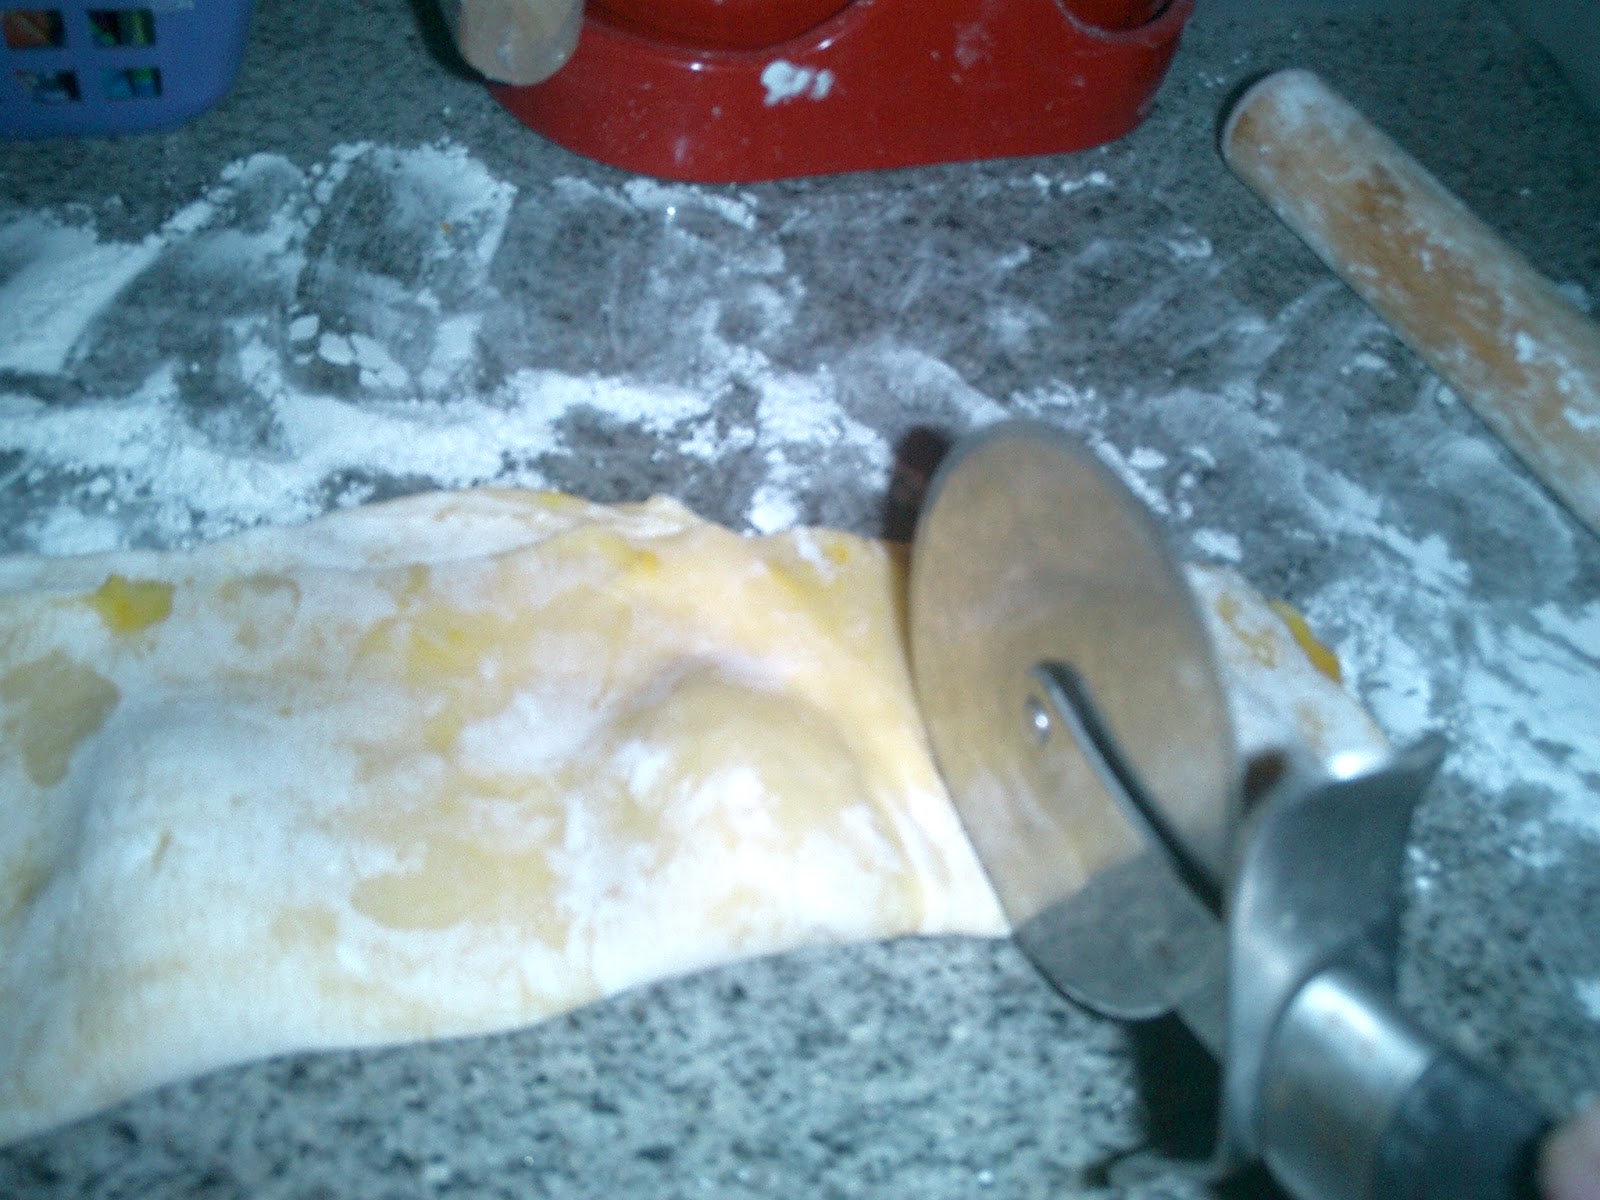
6. Using a pizza cutter or knife, cut pasta sheet into squares, in between the filling and set aside. Repeat the process of rolling out and putting the filling with the remaining half of the dough. At this point you can refrigerate the ravioli if cooking this is planned for later. Overnight refrigeration still makes the pasta good, as long as certain layers of the pasta are kept in between sheets of wax paper and inside a food container, not out in the open on a tray.
7. When ready to cook the pasta, cook the sauce to be used first, while setting the water for the pasta to boil with rock salt. Immerse ravioli squares into boiling water until al dente, or as soon as the pasta squares are floating on top of the water. Collect with a slotted spoon and apply the sauce. (In my case, I prepared brown butter sauce with sage.) Serve immediately.
Butternut Squash Filling:
3 1/2 cups butternut squash, cubed
1 Tbsp. brown sugar
4 Tbsp. butter
Salt to taste
pinch of nutmeg
1 cup parmesan cheese
1/4 tsp. black pepper
1. Place squash in a microwavable bowl , sprinkle a little water and nuke for 15 minutes or until soft enough when pressed with a fork.
2. In a food processor, pulse the softened squash with the rest of the ingredients, except parmesan cheese and pepper, until creamy. Transfer contents into a bowl and fold in the cheese and pepper until well blended. Cover the bowl with cling film and keep in the refrigerator. Use as directed when no longer warm.
Browned Butter Sauce
1 bar (225 grams) unsalted butter, cut into pieces
2 Tbsp. fresh sage, or 1/4 tsp. dried
2 Tbsp. lemon juice
1/4 tsp. salt
1. Heat butter in a saucepan until melted.
2. Add the rest of the ingredients and continue to stir until butter is turning brown. Take away from heat source and set aside until ready to serve the pasta.
Buon apetito!
Subscribe to:
Posts (Atom)